
 Image 1 of 7
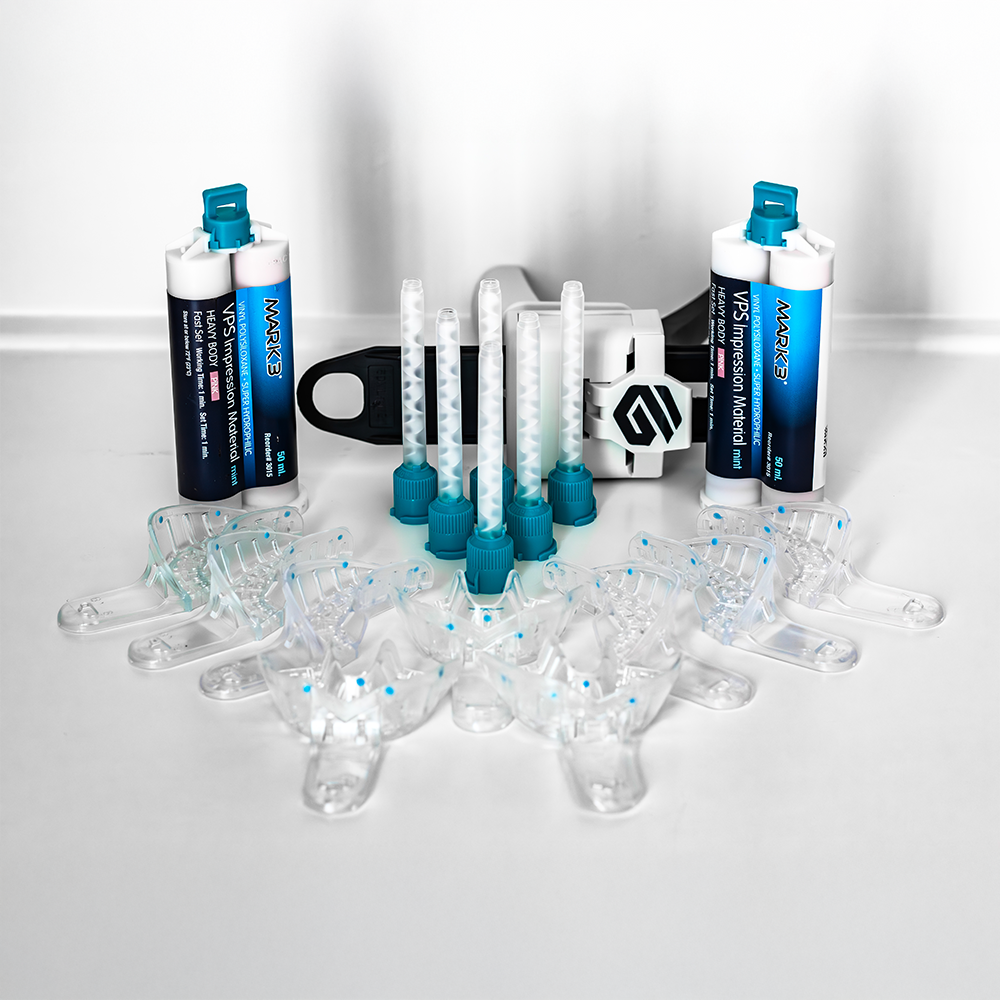 Image 2 of 7
 Image 3 of 7
 Image 4 of 7
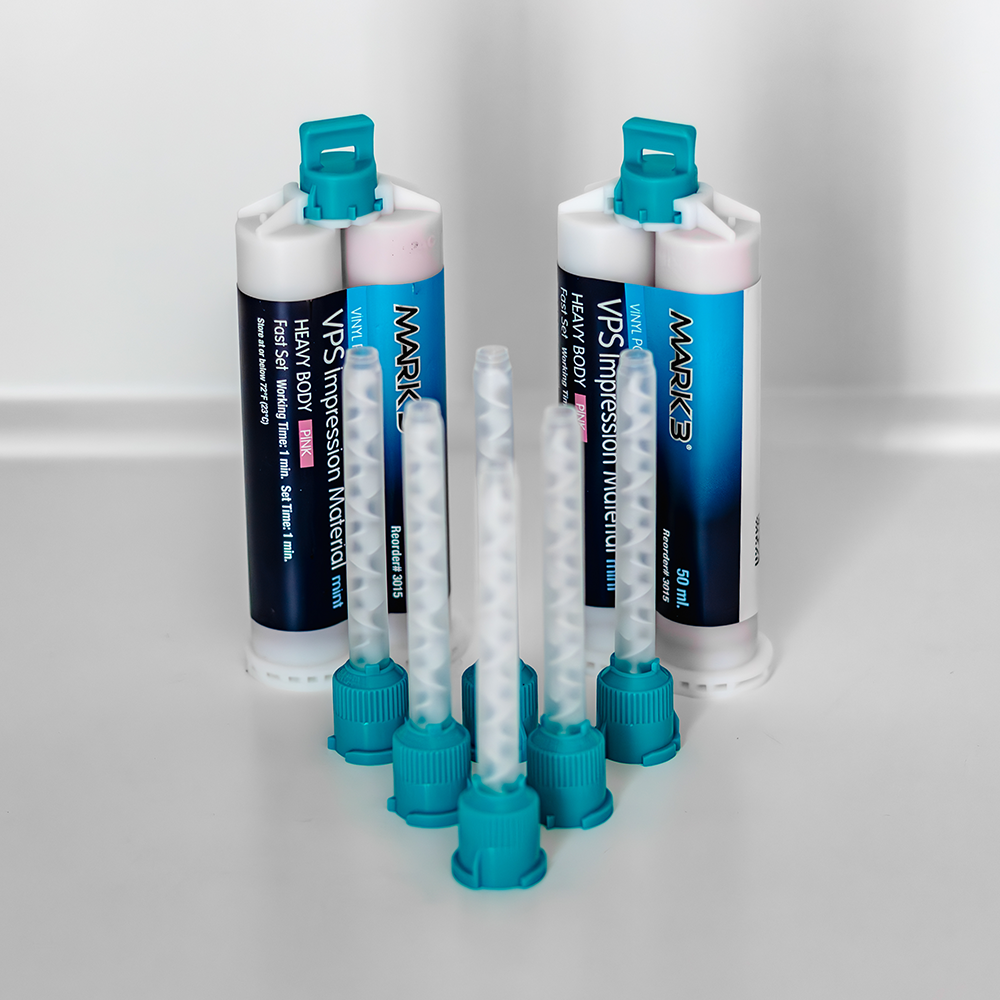 Image 5 of 7
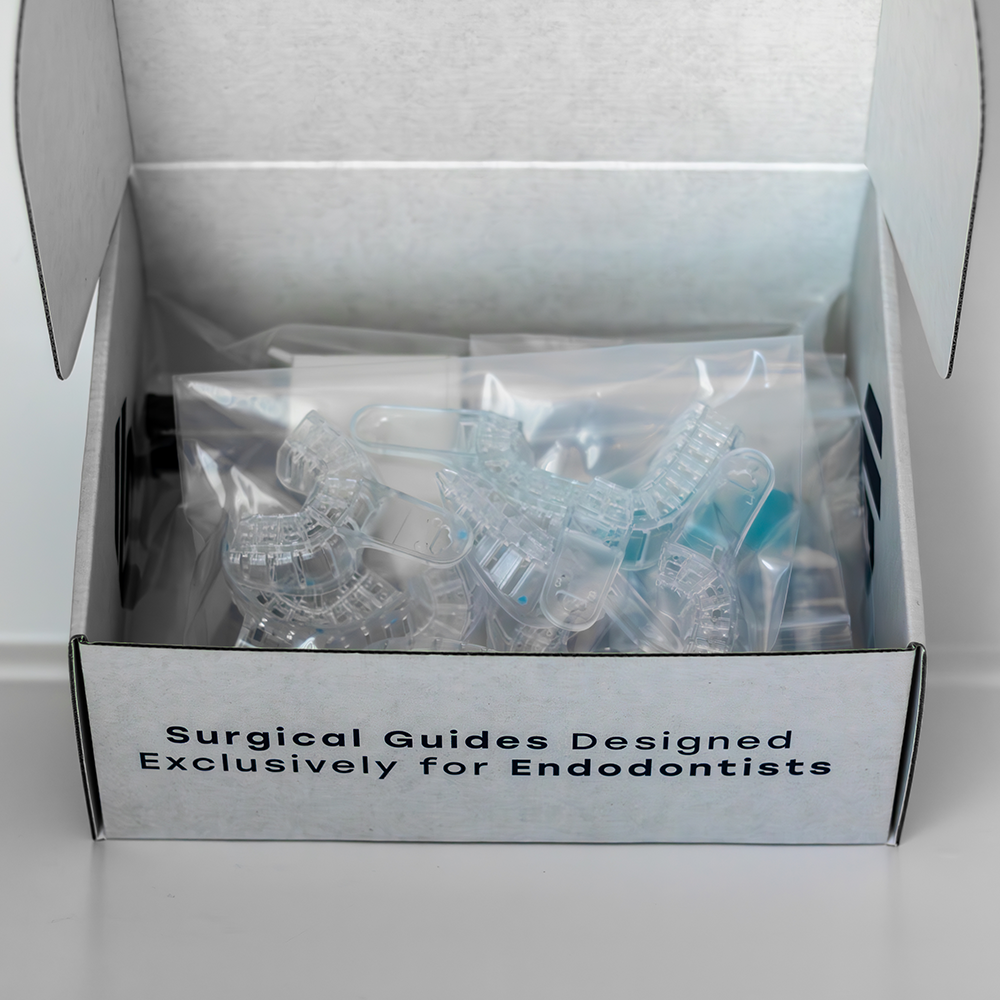 Image 6 of 7
 Image 7 of 7
Endo Guides Starter Kit Workflow
Our Starter Kit is designed to streamline your CBCT-guided workflow for access and apicoectomy guides. Please follow the steps below carefully to ensure the best possible results.
1. Selecting the Correct Impression Tray
The Starter Kit includes three specialized tray designs to ensure optimal fit and marker placement:
Anterior Tray:
For canine-to-canine impressions, both maxillary and mandibular.Posterior Tray – Upper Left / Lower Right:
For premolars and molars on the upper left or lower right.Posterior Tray – Lower Left / Upper Right:
For premolars and molars on the lower left or upper right.
Each tray includes fiduciary markers strategically placed in the vestibule to enable accurate merging of DICOM files from a small field of view (FOV) scan. However, we recommend using a larger FOV when possible to fully capture the impression and all markers—especially helpful during patient positioning.
2. Making the Impression
Once your Starter Kit arrives and the patient is seated:
Load the selected tray with the included heavy-body VPS material.
For apicoectomy guides, it's critical to capture the full vestibule. After loading the tray, dispense additional material directly into the vestibule before seating it in the patient’s mouth.
The VPS material sets fast:
Working Time: 1 minute
Setting Time: 1 minute
After setting, carefully remove the impression to verify its accuracy.
Note: If the patient has significant diastemas, undercuts, or a complex vestibular anatomy, reseating the impression may be difficult. In these cases, leave the impression in place and proceed directly to the first CBCT scan.
3. Taking the CBCT Scans (2 Total)
First Scan: Patient Wearing the Impression
Position the patient with the impression tray fully seated.
Use normal scanning intensity settings.
A larger FOV is recommended to accommodate positioning and ensure capture of the full tray and markers.
After scanning, scroll through the volume to verify that at least 2–3 fiduciary markers are clearly visible (they will appear very radiopaque).
Second Scan: Impression Only
Remove the impression and place it face-up (intaglio side up) on your CBCT scanner’s dedicated scanning plate.
If no scanning plate is available, you may:
Place the impression on foam or a stable platform
Secure it with clear tape to the bite block or similar apparatus
Use lowest intensity settings for accuracy
Again, scroll through the scan to confirm that all fiduciary markers are clearly visible and the full impression is captured.
4. Exporting the Scans
Export both CBCT scans in DICOM format only. This is the required format for us to design your guide.
After purchasing your Access Guide or Apicoectomy Guide, you'll receive:
A secure encrypted upload link
A lab script to complete with case details
5. Design & Fabrication Timeline
Once we receive your DICOM files and lab script:
You will receive a custom guide design via email within 3 business days.
After approval, the guide will be sent to our 3D printing lab.
The final printed guide will arrive within 7 business days of design approval.